Transform Your Wig: A Practical, Salon-Quality Approach to Fringe
This long-form guide is crafted for enthusiasts and pros who want a methodical, repeatable approach to achieving natural-looking bangs on wigs at home. Whether you're new to wig styling or refining your craft, this resource covers tools, preparation, techniques, troubleshooting, and finishing tips that maximize realism and longevity.
Why Customize Your Wig's Front? Understanding the Benefits
Personalizing a wig's front frame is more than aesthetics: it enhances face-framing, softens features, and creates movement. The practice of learning how to cut bangs on a wig empowers you to adapt styles for different face shapes and occasions without frequent salon visits. This guide emphasizes precision, safety for synthetic and human-hair wigs, and professional results you can replicate.
Who Should Attempt This?
Attempting to cut bangs on a wig is ideal for: cosplayers, performers, stylist students, DIY beauty fans, and anyone who wants a quick change. If you cherish reversible, low-risk experimentation, this workflow keeps wig integrity intact while yielding tailored results.
Tools You Need for a Clean Cut
- Sharp hair-cutting shears (avoid household scissors)
- Thinning scissors or texturizing shears
- Fine-toothed comb and wide-tooth comb
- Hair clips or sectioning clips
- Mannequin head or wig stand for stability
- Tail comb for precise parting
- Spray bottle (for human hair wigs) or steam source (for synthetic wigs if styling heat-safe)
- Marker or chalk to map cutting lines (optional)
- Heat tools for post-cut smoothing (if wig is heat-resistant)
Why each item matters
Using proper hair-cutting shears prevents split ends and uneven results. Thinning scissors remove bulk and create softer ends. A stable mannequin head simulates natural head shape and prevents accidental over-cutting. Keep these tools sanitized and reserved exclusively for wig work to protect fibers.
Preparation: The Key to Natural, Salon-Ready Results
Preparation makes or breaks the outcome when exploring how to cut bangs on a wig. Follow these foundational steps for consistent, predictable results.
- Secure the wig on a mannequin head or a stable stand; anchor it with a few pins if needed.
- Comb through gently from root to tip to eliminate tangles without stressing fibers.
- Identify natural parting and hairline — mark lightly with a tail comb or chalk.
- Decide bang length using a reference photo or by placing your finger at the intended endpoint.
- For synthetic wigs, work on dry fibers; for human-hair wigs, you may slightly dampen the fibers to make cuts more predictable.
Note: Always err on the side of caution — you can always cut more, but you can't reattach hair once removed.
Step-by-Step Cutting Method: A Practical Workflow
This section outlines a reliable, layered method to cut bangs with a seamless finish. The methodology is designed for adaptability: blunt, wispy, curtain, or choppy bangs are all achievable with small adjustments.
Step 1 — Sectioning
Divide the front into a triangular section: the apex at the center of the crown and the base across the forehead. The size of this triangle determines the density of your bangs; a narrower base yields lighter bangs, a wider base gives more coverage. Use clips to secure side hair and keep the working area clean.
Step 2 — Initial Anchor Cut
Take a small, central subsection from the triangle, hold the hairs between index and middle finger, point-cut vertically to create a soft edge. This initial anchor establishes your shortest length and helps maintain symmetry. Resist the temptation to cut too much at once.
Step 3 — Gradual Layering
Work outward from the center in small subsections, using the anchor as your guide. For natural movement, angle scissors slightly and use point-cutting rather than blunt slicing. For wispy bangs, remove weight with thinning scissors across the ends.
Technique tip
When aiming for curtain bangs, elevate the hair slightly and cut at an angle away from the center to create a parting-friendly shape. For blunt bangs, cut horizontally but finish with slight point-cutting to avoid a heavy blocky look.
Step 4 — Cross-Checking
Comb bangs down and check the length and balance. Make micro-adjustments by trimming small vertical snips into the ends. View from multiple angles and move the wig on the mannequin to ensure the hair falls naturally around the face. Repeat until satisfied.
Advanced Texturizing and Finishing
Texturizing is the difference between handcrafted and professional results. Use thinning shears to remove bulk from mid-length to ends and to create feathered edges. For synthetic wigs, use gentle techniques: clip less, snip more, and avoid over-thinning which can reveal the wig cap.
Styling Post-Cut
- For human hair: lightly dampen and blow-dry using a round brush to encourage natural shape.
- For heat-friendly synthetics: use low heat or a steamer to set layers and remove cut memory.
- Use a small amount of styling product (pomade, lightweight wax) to define individual pieces and to create separation.
These steps help the bangs appear integrated with the rest of the wig rather than an afterthought.
Common Mistakes and How to Avoid Them
Avoid these pitfalls when learning how to cut bangs on a wig:
- Cutting too much at once — trim gradually.
- Using dull scissors — leads to frayed ends.
- Forgetting to section — results in uneven density.
- Over-thinning at the root — causes see-through areas.
- Not cross-checking — asymmetry is the most common error.
Solution: small snips, frequent checks, and patient layering produce professional results even for beginners.
Tips for Different Wig Types
Wig fiber and construction affect cutting choices:
Human Hair Wigs
Behave like natural hair; you can dampen and use heat tools. Consider micro-sanding ends for an extra soft finish and use salon-grade finishing sprays sparingly.
Synthetic Wigs
Work dry unless the wig is labeled heat-friendly. Use point-cutting and minimal thinning. Synthetic fibers can mask imperfect lines due to uniform shine, but avoid harsh texturizing that exposes the cap.
Lace Front Wigs
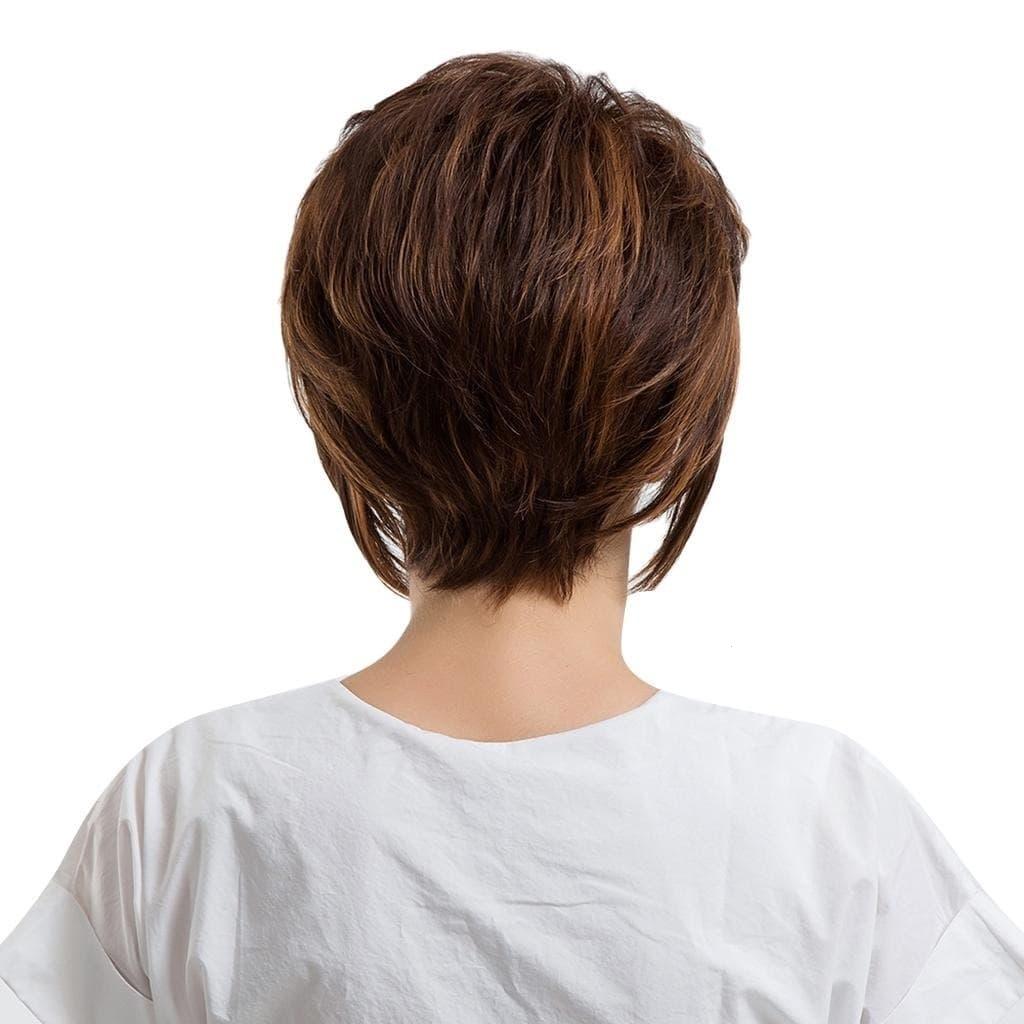
Preserve the lace and hairline by leaving a small curtain at the very front to blend with adhesive or your skinline. Soft layering near the face improves realism.
How to Create Specific Styles
Explore several popular bangs styles with simple adjustments:
- Curtain bangs — longer, layered toward the face; cut with an outward angle.
- Wispy bangs — narrow base, point-cut ends, heavy texturizing.
- Blunt bangs — horizontal, minimal texturizing, finished with micro-pointing.
- Choppy bangs — irregular lengths, uneven point cuts, and selected thinning for texture.
Each variant demands subtle changes in section width, cutting angle, and finishing techniques.
Maintenance and Longevity
To maintain salon-ready bangs after learning how to cut bangs on a wig, adopt these habits:
- Trim small amounts every 4-6 weeks depending on wear frequency.
- Store wigs on a stand to preserve shape and to prevent creasing.
- Use products formulated for wig fibers to avoid buildup that weighs bangs down.
- Brush gently to maintain a soft silhouette and to prevent fiber breakage.
Regular micro-maintenance preserves the edge and reduces the need for major corrections.
Troubleshooting: Fixing Common Issues
If bangs end up too short, consider: adding clip-in fringe pieces, using styling to create the illusion of length (side-swept look), or styling with volumizing techniques to offset the length perception. If bangs are uneven, soften lines with vertical point cuts or add wispy side pieces to blend asymmetry. If there is a visible cap, add thin layers near the hairline, use lightweight hair fibers for coverage, or slightly increase density with hand-tied inserts when possible.
Safety and Preservation

Protect your investment: never use household scissors, avoid excessive tension when cutting, and always store wigs away from direct sunlight or heat sources. Use wig-specific detergents for cleaning and follow manufacturer guidelines for any heat styling to prevent irreversible damage.
Professional Tips from Stylists
Pro stylists recommend: work in natural daylight when possible, take reference photos at each stage, and practice on inexpensive wigs before cutting a cherished piece. When aiming for a salon finish, less is more — make incremental changes.
How to Cut Bangs on a Wig — SEO-Focused Summary
Repeated practice of these structured steps ensures mastery over how to cut bangs on a wig. From preparation to finishing, texture control to maintenance, the workflow outlined here prioritizes realism and reversibility. For search visibility, note that terms like bangs for wigs , trimming wig fringe, and the exact keyword how to cut bangs on a wig are strategically included across headings and body copy to support discoverability and user intent alignment. Implementing the detailed steps above will help your content and your craft achieve salon-grade outcomes.
Further Learning and Practice Exercises
Practice exercises to build confidence:
- Exercise 1: Cut a basic center-swept curtain fringe on an inexpensive wig, practicing angle control.
- Exercise 2: Create three textured variations (wispy, choppy, blunt) on separate samples to understand how thinning affects shape.
- Exercise 3: Time your cuts and styling process to create an efficient routine under 30 minutes.
Document results and adjust technique incrementally.
Resources and Product Recommendations
Recommended brands and educational resources include professional shears from reputable suppliers, wig stands with adjustable necks for ergonomic work, and online masterclasses that demonstrate cutting techniques. Seek out community forums for real-world tips and to ask questions about specific wig fibers or custom jobs.
Where to Go Next
Practice, patience, and reference images are your best teachers. After mastering basic bangs, explore layering, color dimension, and hairline customization to expand your wig styling repertoire. Keep safety, fiber care, and measured cutting as your core principles.
FAQ
Yes—cut synthetic wigs dry, use sharp shears, and avoid excessive thinning; if labeled heat-friendly, you can style gently with appropriate heat settings.
Q2: How short should I cut my first attempt?Cut conservatively: start longer than desired, then shorten gradually until you reach the ideal length.
Q3: Will cutting bangs damage my wig?If done with proper tools and techniques, cutting bangs doesn't damage a wig; avoid jagged cuts and over-thinning to preserve the cap and fiber density.