how to make a half wig for beginners with step by step instructions and styling tips
Complete Beginner's Blueprint for Crafting a Half-Wig That Blends and Styles Easily
If you've been searching for clear, practical guidance on how to make a half wig from scratch or adapt a store-bought piece, this comprehensive walkthrough is designed for novices and DIY enthusiasts alike. The goal here is to demystify the process while emphasizing technique, tools, and styling so you can create a natural, comfortable half wig that integrates with your own hair and gives you styling flexibility.
Why choose a half wig? Advantages and ideal use cases
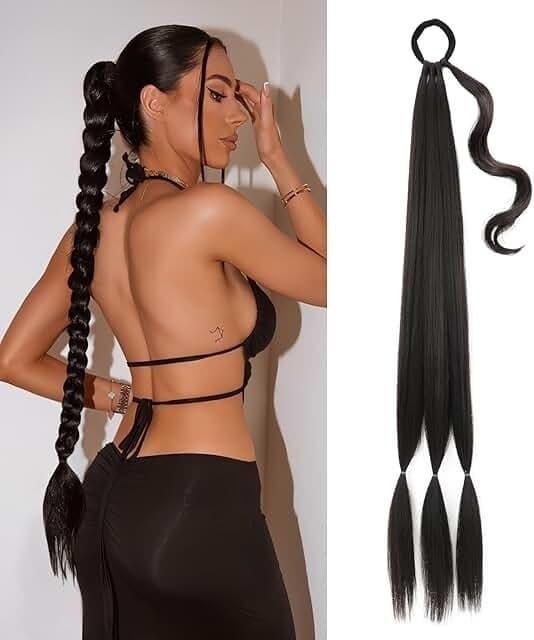
Half wigs are a brilliant bridge between full wigs and clip-ins: lighter, quicker to attach, and they maintain your natural hairline and parting. Whether you're aiming to add volume, conceal thinning at the crown, experiment with a new length, or speed up your morning routine, learning how to make a half wig equips you with a custom piece that matches your texture, color, and lifestyle.
Essential materials and tools you'll need
- Cap base: a half-wig cap, wig cap, or stretch lace cap
- Wefts or loose hair bundles (human hair or synthetic depending on budget)
- Sewing needle (curved preferred) and strong thread or transparent nylon thread
- Scissors, clips, and a tail comb for sectioning
- Elastic band or wig combs for added security
- Mannequin head or head form (optional but helpful)
- Adhesive options: wig tape, wig glue (if you plan to secure to skin), or bobby pins for temporary wear
- Heat tools and styling products appropriate for the hair type
Selecting the right base and hair
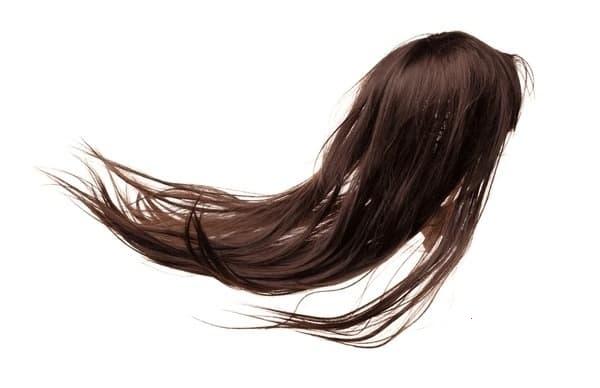
Choosing the base is a crucial early decision. For newcomers, a stretch cap with pre-made weft-friendly rows is easiest. If you prefer a more realistic crown, consider a small lace frontal or a partial lace cap. Match the hair texture (straight, wavy, curly) and color to your natural hair to minimize blending work. Remember that human hair offers the best longevity and styling freedom while synthetic fibers are budget-friendly but heat-limited.
Preparing your workspace and hair
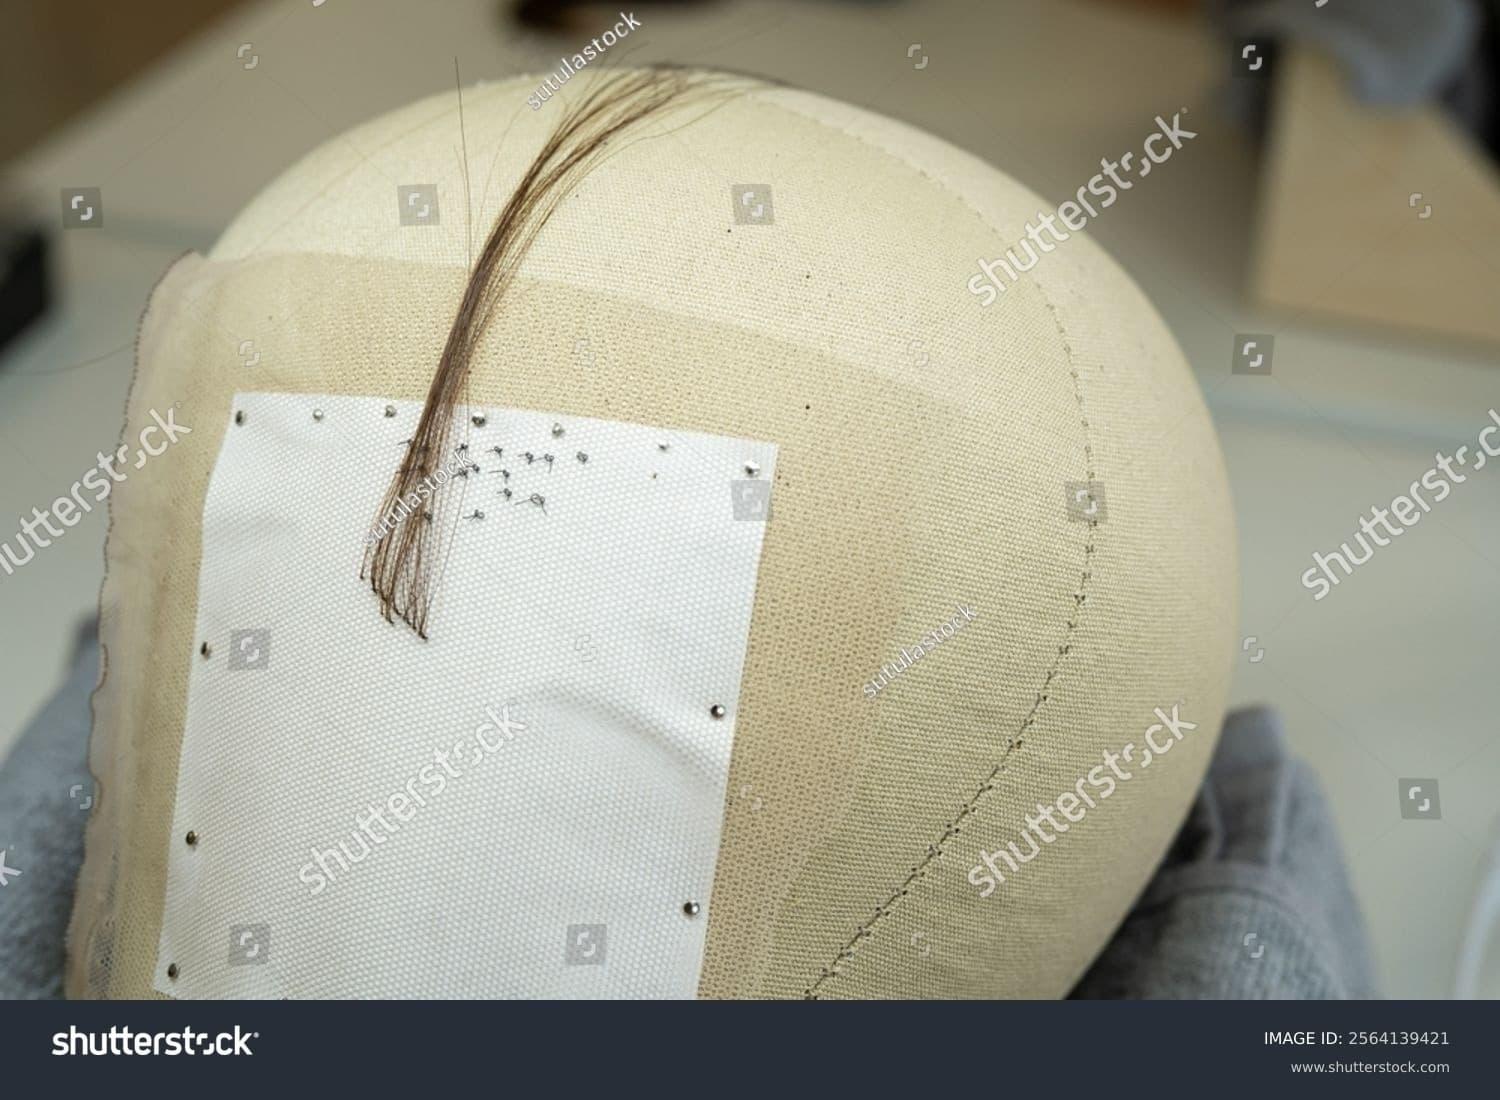
Clean, flat surface, good lighting, and a head form or your own head mounted on a stand will streamline the sewing process. Braid or flatten your own hair into the top half or into cornrows for a smooth foundation. If you're using a mannequin, secure the cap onto the head form and adjust to the exact position where you'd like the half wig to sit.
Step-by-step construction process
- Measure and mark placement: Use a washable marker or pins to outline the intended coverage area on the cap: typically the back and top half of the head, stopping near the temples. Accurate placement ensures the half wig will blend with your front and sides of natural hair.
- Prepare the wefts: Choose wefts that match the width of your rows. Trim wefts to fit the cap's curvature. For a layered look, plan to use longer wefts at the nape and shorter ones toward the crown.
- Sew the bottom rows: Starting at the nape, sew wefts horizontally onto the cap using a blanket or overhand stitch. Keep stitches consistent and tight but not puckered. If you're using a lace frontal for a seamless front, leave the frontal area free of wefts.
- Build volume at the crown: When you reach the crown area, add wefts in a slightly circular pattern to create natural volume. If you want a more natural hairline or a parted look, consider leaving space for a lace section or a few hand-tied wefts to simulate scalp.
- Finish edges and secure: Sew an elastic band or attach wig combs along the inner edge for comfort and security. For those who will use glue, reinforce the front edge with a small strip of lace or fabric to protect the cap and improve adhesion.
- Trim and blend: Once all wefts are sewn, place the half wig on the head and mark blending points. Cut and thin the ends to match the length and layering of your natural hair. For a seamless look, slightly taper the half wig where it will meet your natural hair.
Attachment methods explained
There are multiple safe ways to attach a half wig; choose based on duration of wear and comfort:
- Temporary: Use bobby pins or comb attachments when you want an easy, non-permanent solution.
- Semi-permanent: Wig tape or sticky strips provide several days of hold and are skin-friendly when applied correctly.
- Longer wear: Medical-grade wig glue or custom adhesives used around a small frontal piece can secure the half wig for extended periods but require careful removal and skin care.
Blending tips for a natural finish
Blending is where a half wig turns from obvious to seamless. If your natural hair is visible at the front, use heat tools to align textures. For color differences, add a few highlight or lowlight strands to the half wig or subtly dye the ends (human hair only). Use a tail comb to create a soft part and place a few of your own baby hairs along the seam for camouflage. When you place the half wig, slightly stagger the joining row so hair overlaps naturally instead of showing a straight seam.
Quick styling shortcuts
Once attached, you can:
- Blend with a side part and loose waves for an everyday glam
- Create an updo by tucking your natural hair beneath the wig and pinning the half wig into place
- Add bangs for a dramatic change without cutting your own hair
Practical care and maintenance
Extend the life of your half wig with consistent care: hand wash in cool water with mild shampoo, detangle gently from ends to roots, and air dry on a form. For human hair, occasional deep conditioning restores luster. Store on a mannequin or padded hanger to maintain shape. If you use glue or tape, clean residue from the base and reseal appropriately. Keep heat styling to a minimum on synthetic fibers and always use a heat protectant on human hair.
Common problems and fixes
- Visible seam: Taper the wefts, add a few hand-tied strands near the edge, or use a lace strip at the join to mask it.
- Cap doesn't sit flat: Adjust placement, tighten the elastic band, or sew in small darts to conform to head curvature.
- Shedding or loose wefts: Reinforce with extra stitches and apply a small drop of fabric glue at the knots for non-sensitive caps.
Styling tips to maximize versatility
Half wigs are superb for experimenting. For curly textures, pair the half wig with leave-in conditioner and diffuse the blend area to match your natural curl pattern. Straight half wigs look sleek with a flat iron and anti-frizz serum. To change volume, swap in different half wig pieces: lightweight blowout textures give lift while longer density pieces create drama. Accessorize with headbands, scarves, or clips to conceal the join or to add personality.
Color matching and customization strategies
To avoid a stark contrast between your natural roots and the half wig, choose a base that complements your scalp color and undertone. If a perfect match is unavailable, subtle balayage or hand-tied highlights can be added to both your own hair and the half wig to create cohesion. For bold colors, test a small section on human hair before fully committing.
Budget-friendly alternatives and upcycling
If you want to practice without investing heavily, use mannequin hair or cheaper synthetic bundles to learn sewing and shaping. An old wig can be repurposed into a half wig by cutting away excess and resewing wefts to a new cap. This is a great way to refine your technique before working with premium human hair.
Safety, scalp health, and wear-time recommendations
Avoid prolonged glue use directly on irritated skin and rotate attachment methods to give your scalp breathing time. Remove adhesives gently with a proper remover and cleanse the area. If you experience itching or redness, discontinue use and consult a dermatologist if symptoms persist.
Advanced customizations for confident crafters
Once you're comfortable with basic construction, experiment with small lace front sections, hand-tied crowns, or custom parted systems. Adding a few hand-sewn hairlines near the temple and part can dramatically increase realism. You can also integrate elastic chin straps or adjustable bands to improve stability during exercise or windy conditions.
Checklist: Step-by-step summary for a first half wig
- Prepare materials and select a cap and matching hair.
- Measure head and mark coverage area.
- Sew bottom wefts, building up to the crown.
- Add wefts in circular patterns at the top for natural volume.
- Secure edges with elastic or combs; optionally add lace for a natural hairline.
- Trim, layer, and blend with your natural hair.
- Style, secure, and maintain regularly.
Throughout each step, remind yourself of the core concept: craft the half wig so that it integrates with your own hair. That intent guides decisions about density, length, and hairline treatment. If you are specifically seeking instructions on how to make a half wig, follow these layered steps and practice sewing consistent rows until your tension and placement become natural.
Time estimates and practice rounds
Your first attempt may take several hours; expect to shorten that time drastically with practice. A realistic learning path is three practice pieces: first to learn measuring and sewing, second to practice blending and trimming, and third to refine attachment and styling. Keep notes about what you changed so each iteration improves.
Where to source materials
Local beauty supply stores, online wig supply retailers, and marketplace vendors provide caps, wefts, and tools. When buying hair online, review photos of previous buyers, ask about the processing history of human hair, and request swatches if color matching is critical.
Final appearance tips for a pro finish
Small details yield a pro result: a soft hand-tied hairline, slightly thinned ends at the transition point, and matching texture between the half wig and natural hair. Finish with a light mist of shine spray and set with flexible hold spray to keep style movement natural.
If you want a quick visual reference in addition to these steps, watching a single half-wig construction from a reputable stylist can condense lessons on spacing, density, and blending—then apply those observations in your own builds.
Concluding notes
Learning how to make a half wig is a rewarding craft that gives you control over fit, color, and styling at a fraction of custom salon costs. Start simple, choose a forgiving cap, and practice basic sewing rows until your technique feels reliable. Over time you can add more advanced features like lace sections, hand-tied openings, and custom parts. Above all, prioritize scalp health and realistic blending for the most natural results.
Now take a deep breath, gather supplies, and commit to your first prototype—half wigs transform quickly with a few measured improvements and attention to detail.
FAQ
Q1: How long does it take to make a basic half wig?
For a beginner, expect 2–6 hours from measuring to the final trim; with practice you can reduce this to 45–90 minutes.
Q2: Can I make a half wig with synthetic hair?
Yes—synthetic hair works well for practice and budget builds, but avoid heat styling unless the fiber is heat-resistant.

Q3: How do I make the join invisible?
Thin the weft edges, add a small lace or hand-tied hairline, and overlap your natural hair slightly to hide the seam.
Q4: Is a half wig suitable for daily wear?
Absolutely. Using breathable caps and rotating attachment methods keeps the scalp healthy for regular use.
Related products
Blog
- Ultimate pink wig guide - How to choose, style and care the best pink wig for every look
- New Evidence About does lyle wear a wig Revealed with Photos and Expert Analysis
- Shop Luxury human hair wigs ash blonde for Natural Look, Volume and Silky Shine
- what does capless wig mean - Ultimate beginner's guide to breathable wigs, cap types and styling tips
- does judge janine wear a wig Explaining the Rumors, Examining Photos and What the Evidence Says
- how long is a wig install supposed to last and simple maintenance tips to extend its lifespan
- Gentle Guide how to wash a synthetic wig with fabric softener step by step to keep it soft and tangle free
- Best Care and Styling Hacks for Your Honey Blonde Lace Front Wig Bob