Quick reference: products that help
- Lightweight gel or mousse for smoothing
- Breathable mesh caps
- Wig grips or adjustable headbands
- Non-damaging bobby pins and small elastics
- Edge control for baby hairs
- Wig tape or adhesives for long wear
If you want a realistic, secure, and comfortable wig installation, learning how to put hair under a wig is one of the most important skills to master. This guide covers professional and beginner-friendly techniques so you can create a smooth base, protect your own strands, and achieve a natural silhouette under any wig type. The aim is to explain the why and the how, give step-by-step instructions, list tools and variations, and provide troubleshooting tips that help keep both the wig and your natural hair healthy.
Properly preparing hair before fitting a wig reduces bulk, prevents breakage, and gives a flat foundation for a realistic look. Whether you wear lace front, full cap, or glueless systems, techniques for how to put hair under a wig influence fit, comfort, and longevity. Without a neat, controlled base, wigs can shift, show bumps, or create visible edges. In contrast, a well-laid foundation offers better adhesion for adhesives, smoother hairlines for lace, and a more natural lay for synthetic wigs.
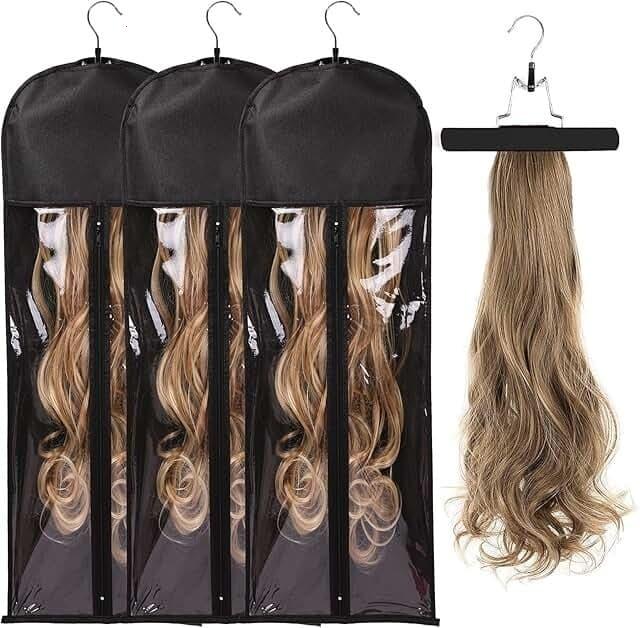
Before attempting to tuck or braid your hair under a wig, gather the following items to make the process smoother: wide-tooth comb, rat-tail comb, soft bristle brush, elastic bands or wig-friendly hair ties, bobby pins or wig grips, wig cap (nylon or mesh), edge brush or toothbrush, small clips, styling gel or mousse (optional), lightweight oil or serum, satin scarf or bonnet, needle and thread (for sew-down methods), and a mirror. Having correct supplies helps with consistent results as you learn how to put hair under a wig.
There are several ways to create a base under wigs and the best option depends on your hair type, length, and the wig style. Common bases include:
Wig cap only: Nylon or breathable mesh caps are quick and work well for short or very fine hair.
Flattened natural hair: Braid, twist, or pin your own hair flat and then apply a cap for a very good fit.
Braids or cornrows: Secure and low-profile, cornrows are great for long-term wear and for lace wigs.
Flat twists: Gentle alternative to braids, offering a smooth surface with less tension.
Low bun or chignon: Works well for short to medium hair when pinned flat under a cap.

Choose a cap color close to your scalp or wig hairline and one that balances stretch and hold. Mesh caps are breathable and less bulky; nylon caps are smoother and can flatten more effectively. For secure lace installations use a thin cap that won't lift the lace edge.
The following is a versatile, detailed method that fits most hair types and wig styles. Read through all steps first, then repeat the technique until it feels intuitive.
Coarse, curly, or thick hair often requires additional steps. Consider steaming braids after braiding to set the base and smooth the hair. Use banding (wrapping elastics along the length of sections) to keep hair straighter before braiding. For kinky textures, small flat twists layered close to the scalp give a low-tension, natural look and reduce the chance of breakage. Remember, one of the best approaches to learning how to put hair under a wig is to adapt methods to your hair's natural behavior rather than forcing a single rigid technique.
When installing lace front wigs, the aim is to marry the lace with your skin seamlessly. A thin cap that matches your skin tone helps, but make sure the cap does not create an obvious ridge. Press the lace gently against the edges using a small tool or your fingers. If using adhesive, remove the wig, clean the skin, apply adhesive per product instructions, let it become tacky, and then position the lace. A secure, well-flattened base makes getting a realistic hairline easier and reduces visible lifting.
If you exercise, sweat, or live in humid climates, prioritize breathability. Use mesh caps and avoid heavy gels that trap moisture against your scalp. You may prefer wig grips or sewn-in weft tapes to reduce adhesive use. Recheck pins and grips after vigorous movement and secure with additional bobby pins if needed. Learning to re-fix a wig quickly during an outing is a useful part of mastering how to put hair under a wig.
To prolong both natural hair health and your wig's wearability: remove the wig nightly when possible, or sleep with a silk scarf and pillowcase; cleanse the scalp weekly to remove sweat and oils; moisturize ends periodically to prevent dryness; redo the base every 1-2 weeks depending on how often you wear the wig; and deep condition natural hair monthly. When storing wigs, place them on a stand or in a satin bag to preserve shape.
If you sew a wig onto braided hair, ensure braids are neat and not too tight. Re-check the sew pattern for stress points and rotate installation professionals to minimize scalp damage. Avoid leaving sew-ins continuously for extended months; give the scalp recovery time.
Finishing touches make a big difference. Use a small brush with a little gel to lay baby hairs naturally. If you left natural edges out, blend them with a light hairspray. For synthetic wigs, trim the muzzle of the lace carefully. For human hair wigs, you can customize the hairline by plucking sparingly and blending with concealer at the part for a more realistic look.
Short hair is actually one of the easiest bases because it requires fewer tucks and less bulk. Smooth hair with a small amount of gel or mousse, place a wig cap, then smooth the cap with a soft brush. For very short crops, sometimes no cap is required, but a thin nylon cap gives a more professional finish and helps the wig adhere better.
Step-by-step short checklist: 1) Detangle and clean hair; 2) Choose flattening method (braid, twist, pin); 3) Tuck ends and secure; 4) Apply cap; 5) Place wig and adjust straps; 6) Secure with pins or wig tape; 7) Style and finish edges. Practice makes perfect — performing these steps several times will reduce time and improve outcomes.
Always be mindful of tension and scalp sensitivity. If you notice redness, blistering, or persistent hair loss near the hairline, remove the wig and consult a professional. Rotate installation techniques to prevent continuous stress on the same areas. Keep the scalp clean and nourished to support natural hair under wigs.
Many stylists recommend leaving a small amount of natural hair out when possible, so baby hairs can be blended for the most realistic finish. Another professional trick is to use a wig liner that matches the scalp tone under a lace front to create depth at the part. Stylists also often steam set braided bases to reduce bulk and lock the foundation in place.
People experiencing thinning or hair loss can still achieve natural results. Use silk or satin caps to minimize friction, avoid tight braids, and consult a trichologist about low-tension styles like flat twists or scalp-friendly braid patterns. Keep the scalp nourished and use protective, breathable caps to prevent further damage.
For lace front wigs, focus on hairline blending; for full-cap wigs, prioritize a flat base to prevent bumps; for glueless wigs, ensure straps and combs have a secure anchor; for active or sports use, choose wig grips and smaller braid patterns for better security.
Learning how to put hair under a wig is a combination of technique, tools, and care. A flat, well-prepared base prevents slippage, creates a realistic look, and protects your natural hair. Whether you use braids, flat twists, buns, or just a single cap, the consistent application of these methods will improve fit and comfort. Keep experimenting with minor adjustments until you find the routine that works best for your hair density, texture, and daily activities.
Capless wigs: structured wig with exposed wefts, may need a smoother base.
Lace front: lace at the front for realistic hairlines.
Wig grip: a band to prevent slippage.
Cornrows: braids along the scalp creating a flat foundation.
A cap is recommended because it smooths the base and protects hair, but in some cases with very short hair and careful pinning, you can skip it. For lace installations, a thin cap is often best.
Braids done too tightly can cause tension and breakage. Opt for flatter, looser braids or flat twists and give your scalp recovery time between sew-ins to protect hair health.
It depends on daily wear and activity level. For daily wear, redoing the base every 1-2 weeks is common; for occasional wear, the base can last longer if maintained properly.
By following these guidelines and practicing the steps above for how to put hair under a wig, you’ll build a reliable routine that protects your natural hair and produces a realistic, comfortable wig fit. Remember to adapt techniques to your hair texture, maintain gentle tension, and prioritize scalp health. The more you practice, the faster and more natural your installations will become — and the more freedom you'll have to style with confidence.